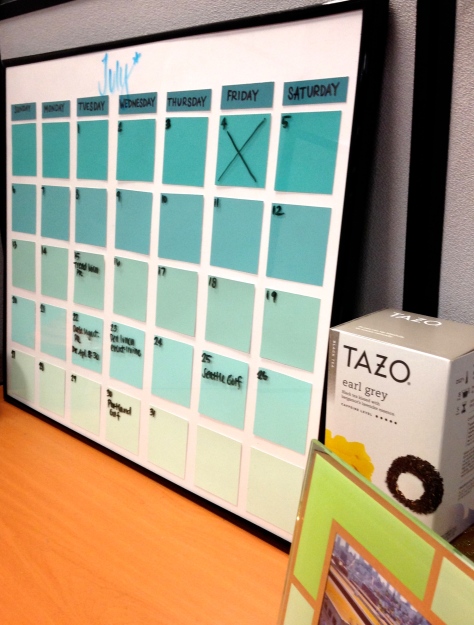
You may have seen in my Inspiration Around the Web post from a while back that I’ve been wanting to make a paint chip calendar. Well, here it is!
This is definitely one of the easier projects you can make if you are gutsy enough to take like 50 paint chips from your local hardware store. I had to get up the courage, but I managed to get out of Lowe’s without any really awkward looks from the employees.
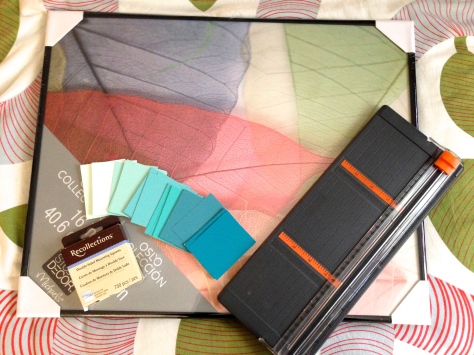
For this project, you’ll need:
- Large frame, preferably with glass rather than plastic
- 7 paint chips in 6 colors (42 total)
- Glue
- Thin poster board
- Paper cutter and/or scissors
- Ruler
- Pencil
First, cut your poster board to the size of your frame. Based on the size of your frame and poster board, measure how large to cut your paint chips. I did this by dividing the length (12 in) by 6, which suggested that I cut my paint chips to 2 inches long. Then I used a pencil to mark every two inches, plus a little extra space between the squares to assure myself this would be accurate. I did the same for the width (18 in), diving by 7, which told me to cut them approximately 2.5 inches wide.
Set aside one color of paint chips – these will be your days of the week. On a 12 x 18 inch poster, I cut the remaining 5 colors down to 2 x 2.5 inches, and arranged them from dark to light with about 1/4 inch space in between.
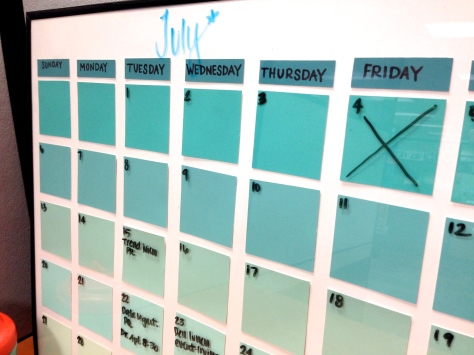
They should also be spaced out so that there is enough space at the top to write the name of the month. Take the color you set aside (in my case, this was the darkest color) and cut it .5 x 2.5 inches. I wrote the days of the week in Sharpie, but I would certainly recommend using stickers or a stencil to spell out the days. I went for the cheap option.
When you’re satisfied with the layout, begin gluing the pieces to the poster board using either sticky squares or liquid glue. I chose sticky squares because it’s my go-to choice for any paper projects. I don’t like the potential residue or outlines left by liquid glue, especially when I’m gluing so many pieces. Plus, by using sticky squares, it’s easier to pick up and adjust the squares if you mess up.
Once everything is glued down, carefully pop the poster board into your frame and start writing! Another suggestion (for a larger canvas), use a lever punch to create a circular hole in the upper corner of each square to serve as a placeholder for your days of the month. I couldn’t sacrifice the writing space, but on a larger canvas you can.
Now it looks great on my desk at work! After almost three months on the job, my desk still looks pretty empty, so it’s nice to have something taking up space.


Love this idea!!
Gorgeous color choices. Time for me to start stalking the paint section…
NIce choice of pantones!